When it comes to keeping your vehicle looking its best, applying car wax is an essential and fundamental component of proper maintenance. Applying car wax is an important part of maintaining your car’s exterior. Not only does wax protect the paint from scratches and UV rays, but it also helps to create a deep shine that can make your car look like new. If you are a newcomer to the world of car maintenance, the prospect of applying car wax may seem daunting or overwhelming. Therefore, in this informative blog post, we aim to provide you with a clear and concise step-by-step guide on how to properly apply car wax to your vehicle.
Choosing the right car wax
When it comes to waxing your car, you have two options: carnauba-based wax or paint sealant. Carnauba wax is derived from the leaves of a palm tree found in Brazil and produces a high-quality shine. On the other hand, paint sealant is a wax made of polymers that provides longer-lasting shine and added protection. These products are commonly available at major retail stores and auto parts shops, and there are many well-known brands to choose from. While it’s not necessary to splurge on car wax, it’s advisable to opt for a product that falls within the middle price range. Car wax is typically sold in small containers, but you can also find it in spray and liquid forms.
Here are simple techniques to choosing the right car wax
- Consider the type of wax: There are different types of car wax, including spray wax, liquid wax, and paste wax. Each has its own pros and cons. For example, spray wax is easy to apply but may not last as long as paste wax. Also, if your car has a dark color, choose a wax designed for dark-colored cars.
- Look for the ingredients: A good car wax should contain ingredients that protect your car’s paint and clear coat, such as carnauba wax, synthetic wax, or polymers.
- Check the durability: The durability of a car wax can vary depending on the brand and type. Some waxes may only last a few weeks, while others can protect your car for several months. Choose a wax that fits your needs and driving habits.
- Consider ease of application: Some waxes require more effort to apply than others. If you’re looking for a quick and easy solution, spray wax might be your best option. However, If you want a more durable finish, paste wax or liquid wax may be more suitable.
- Read reviews: Before you buy a car wax, read reviews from other car owners to see how it performs in real-world conditions. This can help you choose a wax that’s effective and reliable.
Steps to Easy Car waxing
After you’ve carefully picked the best car wax for your needs, it’s time to start waxing your vehicle. To obtain a satisfactory end, there are a few basic measures you may take to easily complete car waxing.
Step 1: Gather Supplies
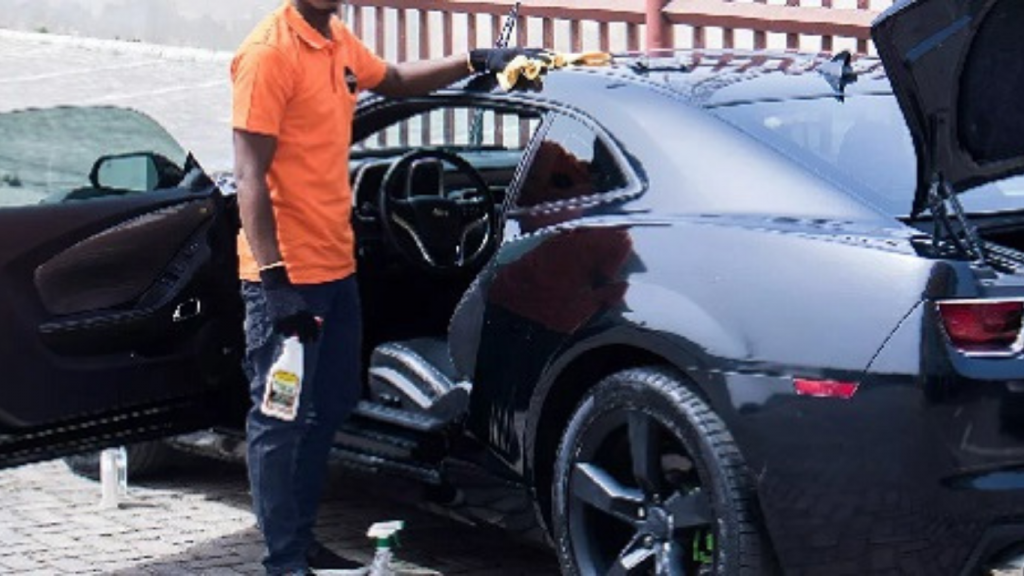
Before embarking on the process of waxing your car, it is important to ensure that you have gathered all the essential supplies that you will need for the task ahead. These supplies consist of car wax, applicator pads, microfiber towels, and a hose or a bucket of water. Taking the time to gather these supplies beforehand will help to ensure that you are fully prepared and equipped to carry out the waxing process effectively and efficiently.
Step 2: Wash and Dry the Car
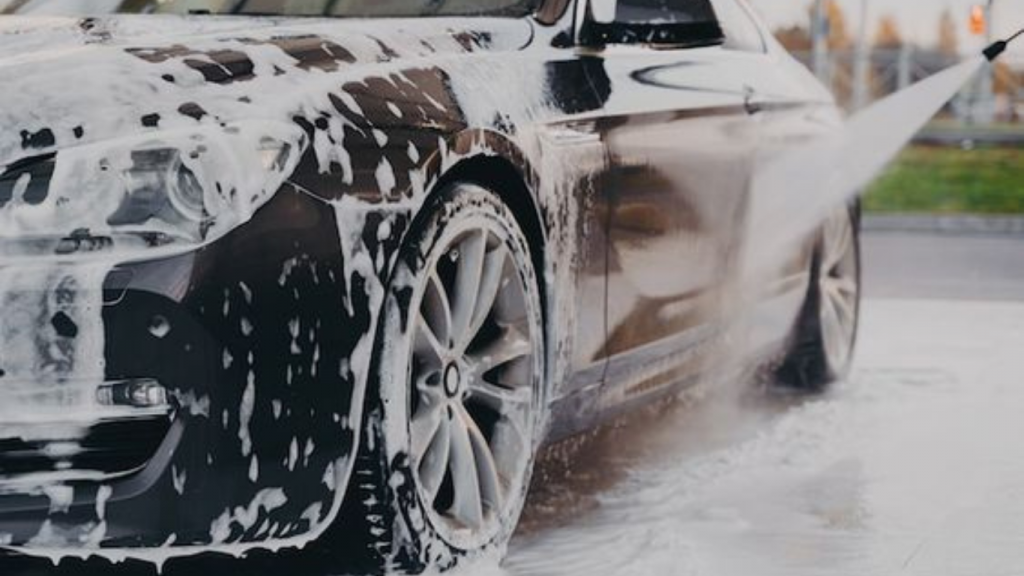
In order to prepare your car for waxing, it is important to first thoroughly wash and dry its surface. This step is necessary to remove any dirt, dust, or debris that may have accumulated on the car’s exterior. Failure to do so can result in an uneven or ineffective application of wax, which can compromise the overall appearance and protection of the car’s paint.
To wash your car, you can use either a car wash soap or a dedicated car shampoo. These products are designed to effectively remove dirt and grime without damaging the paint or leaving behind any residue. It is recommended to work in sections, starting from the top of the car and working your way down to ensure that all areas are thoroughly cleaned.
After washing, rinse the car with water to remove all traces of soap or shampoo. Again, starting from the top and working your way down is the best approach to ensure a thorough rinse.
Finally, dry the car. Using a clean microfiber towel, gently dry the car’s surface, making sure to remove all excess water. This will prevent water spots and help ensure that the wax adheres to the paint properly, resulting in a smooth and even finish.
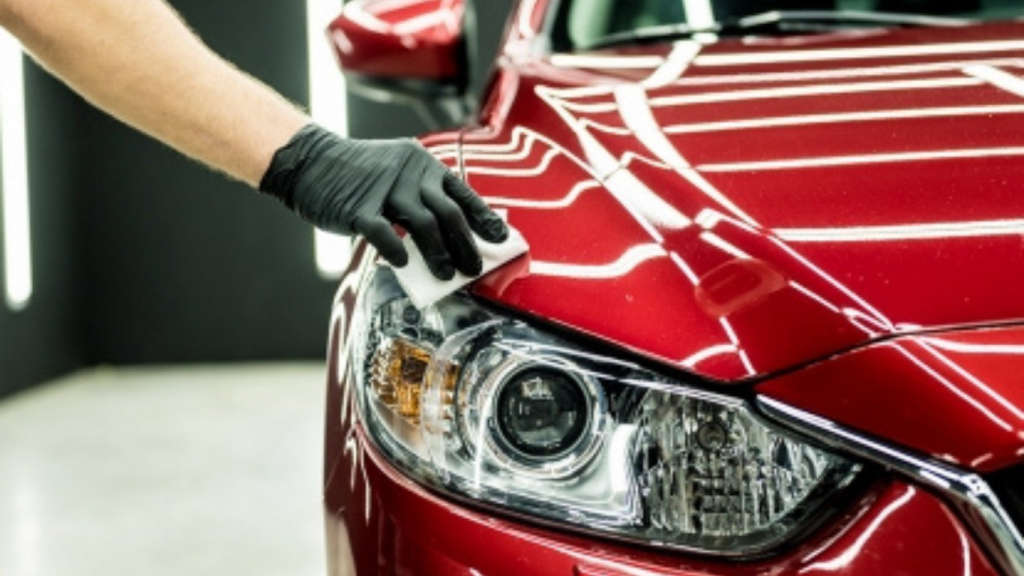
Step 3: Apply Wax to the Applicator Pad
To begin the waxing process, take the applicator pad and carefully apply a small amount of wax onto it. Keep in mind that a little wax can go a long way, so there’s no need to overdo it. If you use an excessive amount of wax on the pad, this can lead to uneven distribution on the surface of the car. It may also be very difficult to remove the wax.
Step 4: Apply the Wax to the Car
Starting from the top of the car, apply the wax to the paint in a circular motion. As you work your way down the car, apply wax to small sections at a time. This will help ensure that you spread the wax evenly and prevent it from drying out too quickly. Continue to work in circular motions, making sure to overlap the previous section of wax to ensure full coverage. Make sure to spread the wax evenly over the surface.
Step 5: Let the Wax Dry
Once you have applied wax to the entire car, allow it to dry. This is an essential part of the process as it enables the wax to bond effectively with the car’s surface, ensuring a longer-lasting and more effective protective layer.
The duration of the drying process is influenced by several factors, such as the type of wax you are using and the weather conditions at the time of application. It’s important to note that different types of wax have varying drying times. For instance, some waxes dry faster than others due to their chemical composition.
As a general guideline, it’s recommended that you allow the wax to dry for a minimum of 15-20 minutes before removing it. To determine whether the wax has dried sufficiently, check for a hazy appearance on the car’s surface, indicating that the wax has bonded with the paint.
Step 6: Remove the Wax
Moving onto the the wax from the surface of your vehicle. To do this, use a clean and dry microfiber towel. With this towel, gently buff the surface of the car in a circular motion, applying moderate pressure to ensure that the wax is effectively removed. It is important to be thorough and ensure that all of the wax is removed from the surface of the car, especially in hard-to-reach areas such as edges and crevices. Make sure the entire surface of your vehicle is free from any lingering wax residue.
Applying car wax is an important part of maintaining your car’s exterior. By following these steps, you can ensure that your car is protected from scratches and UV rays, and that it looks great for years to come. Just remember to choose the right wax.